


How to Mount Projector to Ceiling: Step-by-step Guide for Beginner
By Tom Tate - 2024-7
Adding a ceiling-mounted projector to your house may greatly enhance its quality and create a movie theater atmosphere by providing larger pictures. In addition to saving room, it will help your living room or bedroom seem polished and professional. So how to mount projector to ceiling? This basic guide will teach beginners step-by-step and clarify the unanswered questions you may have.

1. Advantages and Disadvantages of Mounting a Projector to the Ceiling
2. What Accessories Do You Need to Install a Projector on the Ceiling?
3. How to Mount Projector to Ceiling: Five Easy Steps to Follow
4. Six Tips to Enhance Viewing Experience by Correct Set-up
5. FAQs and Trouble-shootings about Mounting Ceiling Projector
Advantages and Disadvantages of Mounting a Projector to the Ceiling
Before knowing how to mount a ceiling projector, let’s see whether you should do that. Choosing this way to install is not suitable for every house and has its pros and cons.
Advantages
- Save Space: It is an ideal option for a tiny room since it blends in seamlessly with the design of the space and doesn't obstruct furnishings.
- Removes the Obstruction: The ceiling projector allows people to pass behind you without obstructing the projecting light.
- Minimize the Security Risks: This mounting method keeps the device positioned out of children's and pets' reach, protecting the projector from spills and knocks as well.
Disadvantages
- Limited Installment: Not all the ceilings are suitable for projector set-up. Some just don't support drilling and heavy installation. In addition, the height of the ceiling and any other ceiling-mounted fixtures may restrict mounting.
- Troublesome Cleaning: When you want to dust the projector, you'll need to use a ladder to reach it if your ceiling is high, which is inconvenient.
- Wiring Arrangement: Wires can make a room look messy if not arranged. You need to plan for the cable connection for a neat home theater.
What Accessories Do You Need to Install a Projector on the Ceiling?
Except for the setup of the film projector and screen, you need some accessories to help you with the mounting.
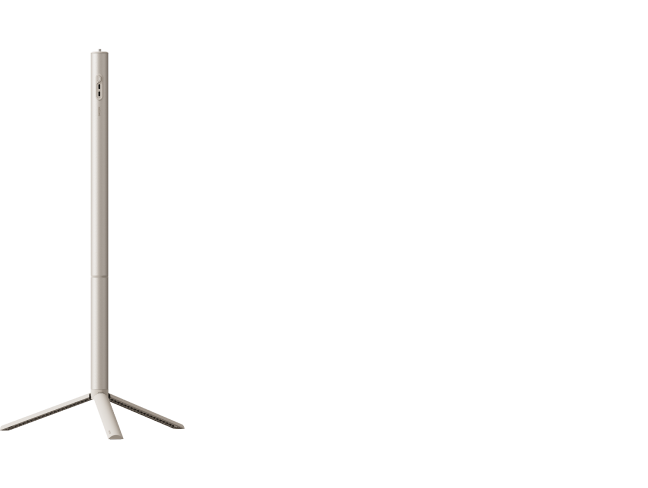
- Ladder or Step Ladder: Convenient for your ceiling installation.
- Tape Measurer: To measure screen size, screen axis, throwing distance, and other parameters.
- Pencil: To mark the installation position and the drilling spots.
- Drill: To drill holes in the ceiling for attaching the mounts.
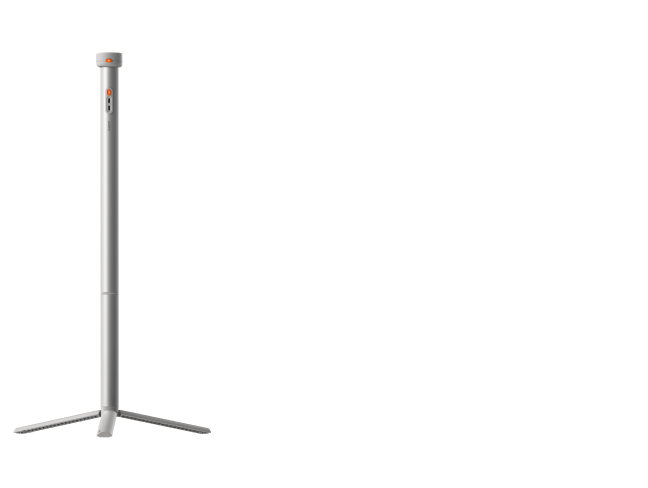
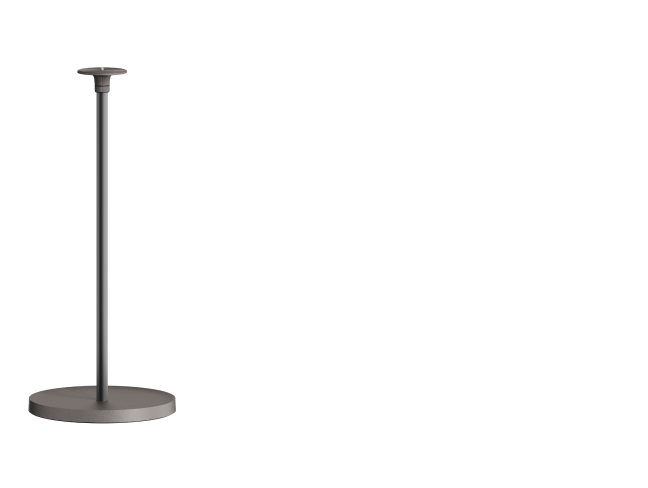
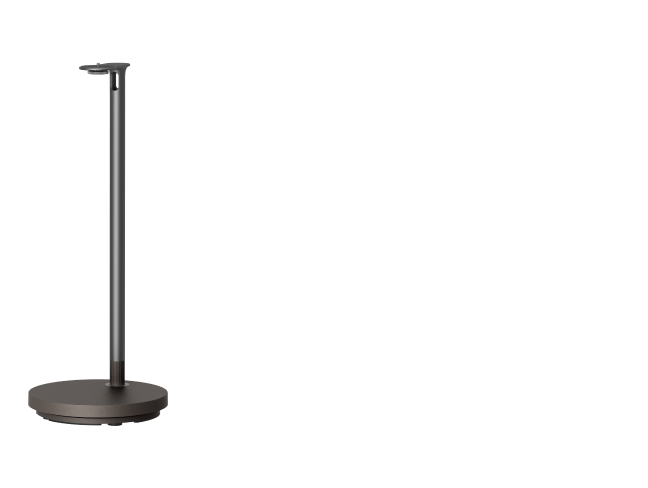
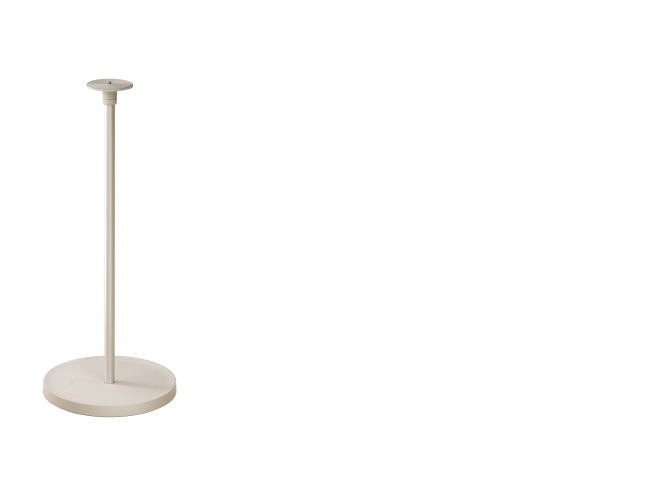
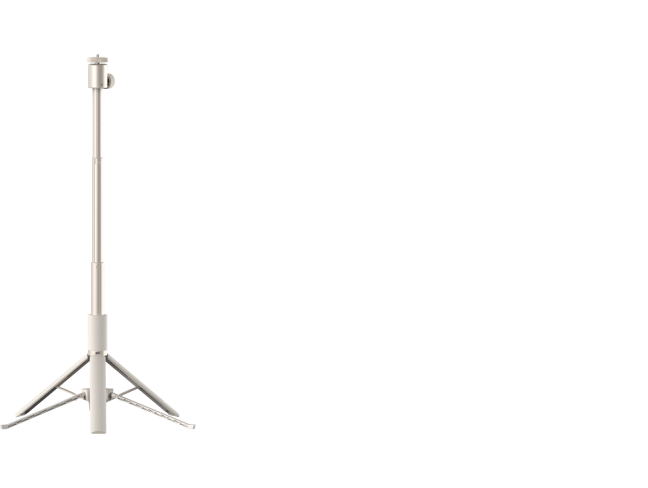
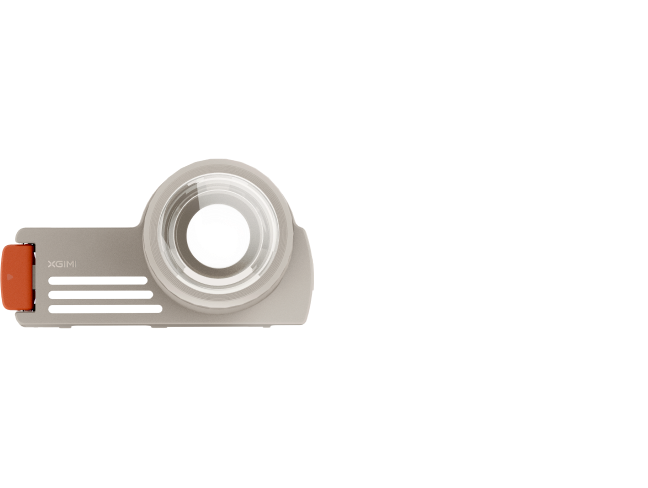
- Ceiling Mounts and the Hardware Kit: Note that not all ceiling mounts are universal. Therefore, we recommend that you buy the same ceiling mounting brackets as your projector brand and make sure that they are compatible. For example, the
XGIMI Ceiling Mount is designed for the XGIMI HORIZON series. - Screwdriver: To install screws for installment.
- Wrench or Allen Wrench: To gripping, tightening, loosening nuts and bolts
How to Mount Projector to Ceiling: Five Easy Steps for Beginners to Follow
Step 1: Locate your ceiling projector and screen
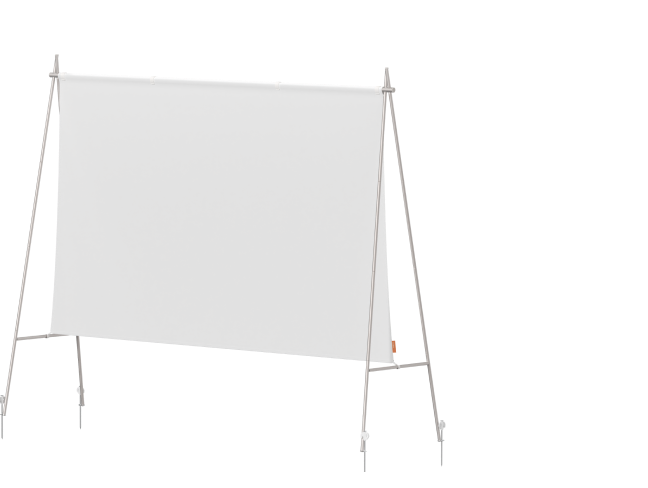
Before doing anything else, you must determine the location of your home ceiling projector and screen. You should look for two comprehensive pieces of information on designing a home theater: the Centerline of the screen and the throw distance of the projector. They are the key to determining the best mounting spot for your ceiling projector setup.
Mark the Screen's Center Line: Determine Which Line the Projector is on
Once the projection screen is in position, measure the distance that is half the screen's width from the wall to the edge of the screen. Now, measure this distance from the other end of the wall you originally measured and mark it on the ceiling where you want your projector to be.
Nevertheless, some smart ceiling projectors have Intelligent Screen Alignment features, which means they can be attached on the right or left side. They eliminate complex setups.
Calculate the Projection Throw Distance: Determine Which Spot the Projector is on that Line
The distance that the projector must be thrown from the movie screen to fill it with a crisp, in-focus image is known as the throw distance.
Throw Distance=Throw Ratio*Image Width
You can calculate through this formula or using the XGIMI Projection Calculator to get the throw distance. It will assist you in figuring out whether the ceiling video projector is installed correctly. You should verify that there is enough throw distance between the projector and the screen before drilling on the ceiling.

Step 2: Mark the Screw Hole Positions, Drill on the Ceiling, and Install the Base
First, mark the location of the screw holes on your mounting bracket, making that it can still be put along a ceiling joist.
Second, drill a pilot hole for every screw. Make sure you follow the bracket's directions and use the appropriate number of screws. Note that the size of the drill depends on the screws you use to support the hole of the mounting brackets, like 6mm, 8mm, or others.
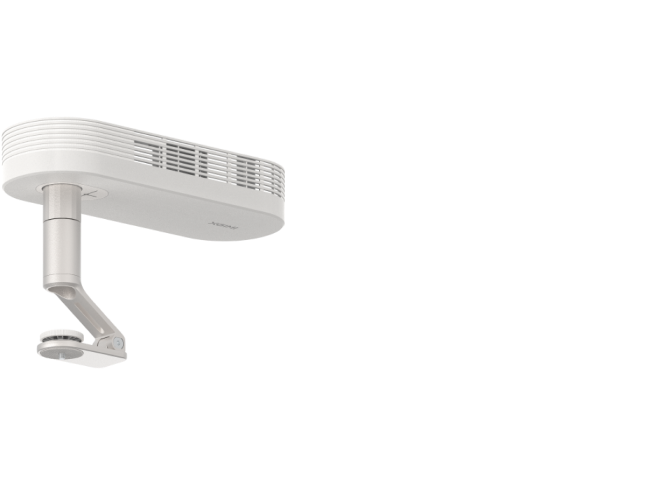
Third, carefully mount the base of the bracket and make sure its position is where you want it to be. This step depends on the design of the mounts you buy, some are one-piece types while some are divided into bases, rods, and other parts. Or you can attach the projector to the mounts, and then install them on the ceiling together.
The mounting bracket should then be firmly attached to the ceiling. Try to jiggle it to make sure it is firmly attached to the ceiling.

Step 3: Attach the Projector to the Ceiling mounts
As directed by the instructions that came with the mount, loosely connect the mounting bracket. Try to align the bracket with the lens as much as possible. Either a straight ceiling mount or one that attaches to a ceiling plate via an extension column of the required length can be used for your mount.
Once you're satisfied with the arrangement, firmly attach the bracket. When attaching it to the ceiling, be careful to adjust this distance if you can't get the lens to match up with the bracket so that the lens is centered on the screen.

Step 4: Install the Mounts and Projectors On the Ceiling
Now that the bracket is set, pay attention to where it is placed on the projector and make any necessary small changes to the ceiling location so that it stays in line with the center of the projector screen and avoids being too close to any walls.
Step 5: Connect the Cables and Plan for a Tidy Wiring Arrangement
Power Cable: You may plug in the projector and watch movies if you've put wiring and an electrical outlet in your ceiling near it. Make sure you have a cable long enough to reach the projector if you don't already have the outlet installed.
HDMI Cable: Your media player or home theater receiver will probably require an HDMI cable to be connected to your ceiling-mounted projector. Determine the required length of your wires, but make sure they have extra length for reasonable arrangement.
Keep in mind that you won't be connecting the projector to your video source by only running wires in a straight line, so you should factor in the extra wiring you'll require. If you are skilled enough, you may run the cables through the ceiling and behind the walls to conceal them, or you can use attractive trunking placed at the base of the wall.
Six Tips to Enhance Viewing Experience by Correct Set-up
How to mount projector to ceiling for a comfortable watching experience? Here are a few tips you might not know.
- Build a home theater in a room that can block out ambient light, and mount the screen on a wall that has no direct light. Because the wanted lighting would affect the projection quality, and weaken the color contrast.
- Ensure that nothing hanging from the ceiling, such as fans or lights, is obstructing the projector's beam.
- If the projector is bulky and noisy, you’d better install it away from the viewing position.
- Determine your eye level to make sure your head is at a comfortable level when watching the projection screen. Use this computation to mount the projecting setup. When seated, an individual's eyes are typically 42–50 inches from the ground.
- To make hiding the cables as simple as possible, try positioning it closer to a wall.
- Install it close to a wall outlet or other power source, making the wiring tidy and convenient. Or you can get a power cord of the right length.
FAQs and Trouble-shootings about Mounting Ceiling Projector
Can ultra short throw projectors be ceiling mounted?
Yes, regular short throw and UST projector support are being installed on a ceiling in the home or classroom. To ensure that the projection fills the screen, just make sure the screen distance is at its ideal setting. However, you should check the mounting options and size and weight on the product listing to see whether it is advised for ceiling installation first. For example, XGIMI Aura is better placed on a TV stand or shelf.
How to hide a ceiling-mounted projector?
You may place your projector in a housing that retracts and hides in the ceiling with the help of a projector lift instead of a ceiling mounting. Because the system can all be hidden away with a single button press, it is especially well-liked by individuals who install home theater systems in their living rooms.
The movie projector is concealed until required. The angle of the light ensures that there shouldn't be any interruptions when people are moving about the space, which makes ceiling mounting ideal.
How to hide wires on ceiling projector?
You can conceal the wires simply with cable tunnels, crown molding, window frames, and others. The easier way could be to install it next to the wall socket, using a short cable for connection. Also, some ceiling projectors offer wireless options for connection, enabling a tidy and clean home theater.
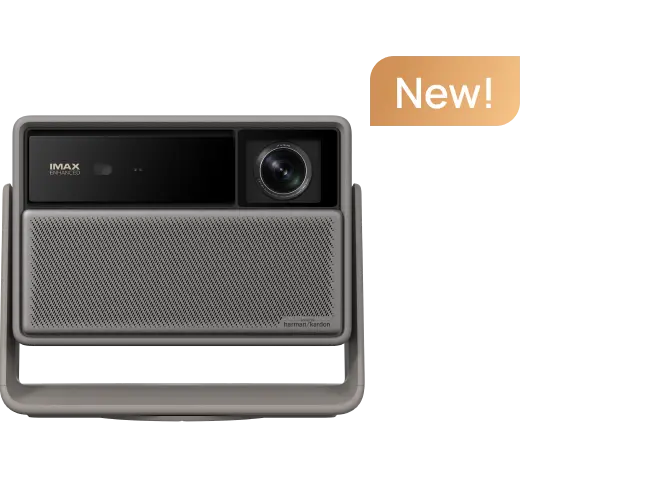
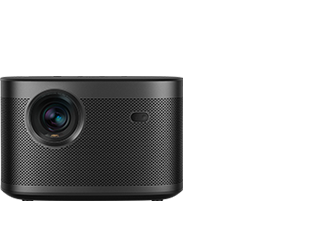
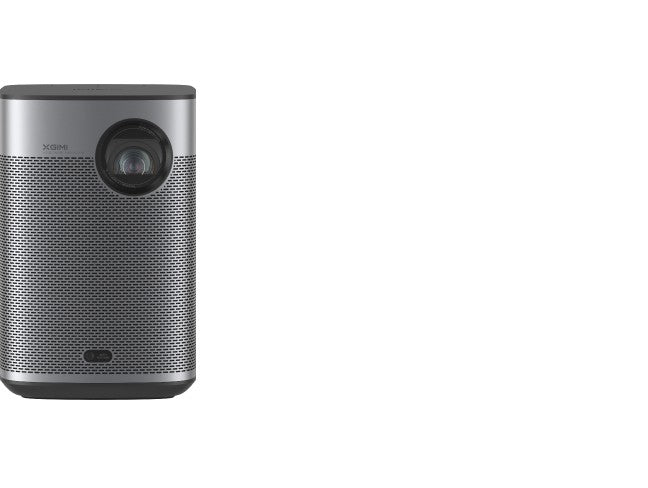
Projector Recommendations
Just Play, Your Way
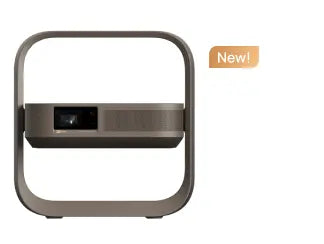
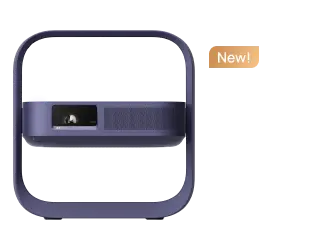
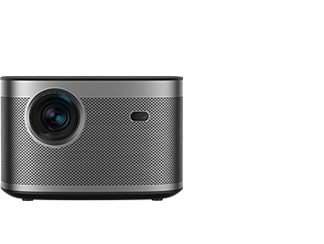
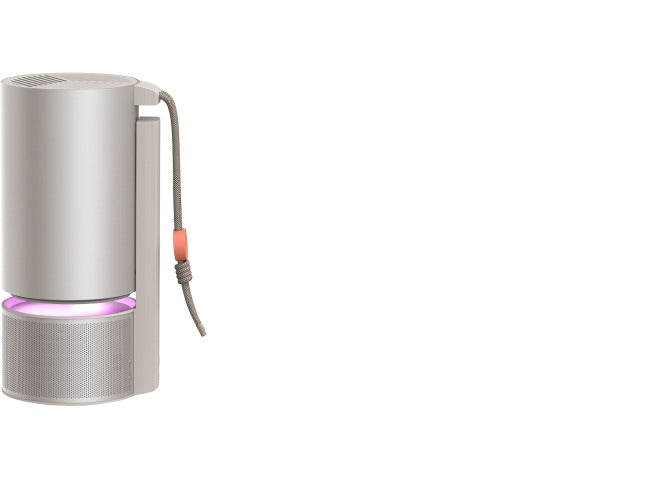
Google TV Smart 1080p Projector On-the-Go

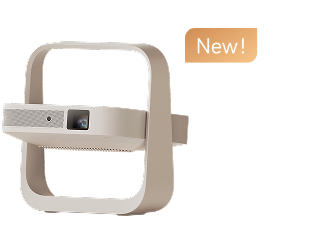
Mini Size,
Maximum Entertainment

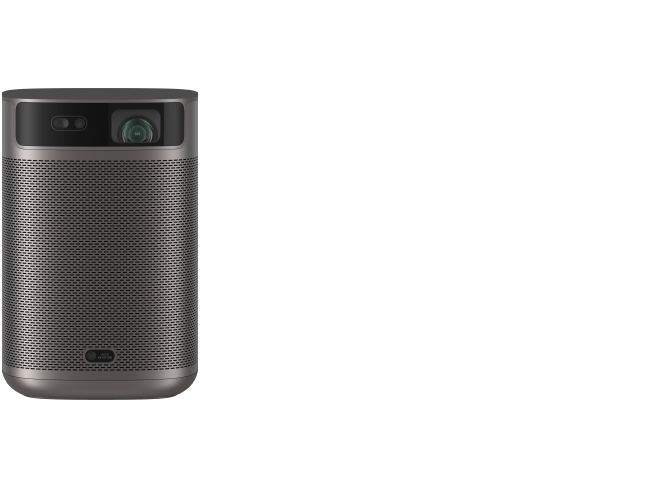
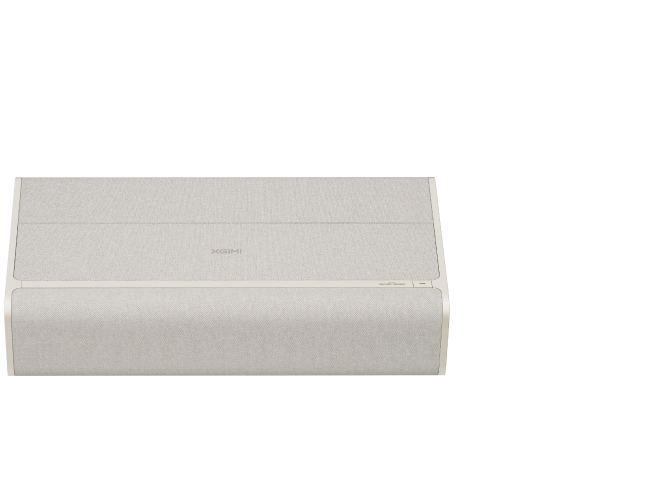
Mini Remote Control


People Also Read

Basic Guide to Short Throw Ceiling Projector

Digital vs Optical Zoom for Projectors

How to Choose a Home Ceiling Projector?
Enjoy $50 off Your Next Purchase
Be the first to know about any news and sales!
*By subscribing, you agree to receive XGIMI's marketing emails and XGIMI's Privacy Policy.
