

What Is DLNA and How to Use It with Projectors?
By XGIMI Tech - 2025-12
In this era of interconnected smart devices, DLNA technology offers XGIMI projector users a convenient way to share multimedia content. Whether casting videos from your phone to a portable home projector or playing music from your home NAS on your computer, a DLNA wireless connection makes it effortless. However, many users are unfamiliar with how to use it. Below is a detailed guide on utilizing this tech to unlock a new multimedia sharing experience between your DLNA projector and other devices.

What is DLNA?
DLNA, which is short for Digital Living Network Alliance, isn't a new technology but rather a set of standards built on existing network protocols. It enables devices of different brands and types—such as smartphones, tablets, computers, and audio systems—to recognize, connect with, and share digital media content (including videos, audio, and images) with DLNA-certified projectors.
The advantage of a DLNA connection lies in breaking down barriers between devices. Without complex setup or dedicated cables, wireless multimedia transmission is possible whenever devices are on the same local network (Wi-Fi environment). For example, you can cast travel photos taken with your phone to the DLNA projector to share the enjoyment of viewing them on a large screen with friends. You can also play high-definition movies stored on a NAS (Network Attached Storage) device from your computer, and enjoy an immersive viewing experience through the large-screen projector via DLNA.
Explore more ways of wired and wireless connections for projectors.
What Should You Prepare for Using DLNA with a Projector?
1. Ensure Your Projector and Your External Devices Support DLNA
Most XGIMI projectors come with built-in DLNA functionality for screen mirroring. Smartphones of Android and iOS models, and computers of Windows and Mac systems, can also enable this feature by installing compatible DLNA software.
For instance, the default photo and video players on Android phones typically support DLNA screen mirroring, while Windows' “Media Streaming” feature facilitates DLNA media sharing.
2. Establish a Unified Local Area Network (Connect the Devices to the Same Wi-Fi)
Connect both the wireless DLNA projector and other devices to the same Wi-Fi network—this is essential for DLNA to function properly. Also, ensure a stable router signal strength. If devices are far from the router, consider using a Wi-Fi signal booster to prevent transmission stuttering or interruptions caused by network instability.
Methods for Using DLNA with XGIMI Projector from Different Devices
1. Screen Mirroring Your Smartphone to DLNA-Supported XGIMI Projector
For Android Phone:
Open your gallery or video player, locate the photo or video you wish to cast, and tap the “Cast,” “Share,” or “DLNA” icon (typically a square with a triangle) on the playback interface. Select the corresponding XGIMI DLNA projector from the device list. Once connected, the content will display on the large screen.
For iPhone and iPad:
Since iOS does not natively support DLNA, a third-party app like “VLC for Mobile” or “Cast to TV” is required (for reference only). After installation, open the app and follow the prompts to select and connect to the XGIMI projector device. Then, open your Photos or Videos app and tap the casting button within the app.
However, AirPlay is more recommended for full iPhone screen mirroring. Check for more methods about how to connect smartphone to projector.
2. Sharing Media Files from Your Computer to the DLNA Smart Projector For Windows System Computer and Laptop:
For Windows System Computer and Laptop:
Open “Control Panel,” locate “Network and Internet,” click “Network and Sharing Center,” select “Change advanced sharing settings” from the left menu, and enable “Media streaming.”
Then open “File Explorer,” locate the folder you want to share, right-click and select “Properties.” On the “Sharing” tab, click “Advanced sharing” and check “Share this folder.”
Finally, open “Windows Media Player,” click ‘Organize’ > “Manage media libraries,” and add the shared folder. The XGIMI projector will now discover and access these shared files within the local network.
For MacBook and iMac:
Install DLNA-compatible software on your MacBooks like “Plex” or “Serviio.” Using ‘Plex’ as an example: After installing and launching the software, follow the wizard to add your media library folder. Once configured, the software automatically scans media files within the folder and shares them over the LAN. The XGIMI projector can access shared media content by searching for the “Plex” server.
3. Streaming Media Files from NAS to XGIMI DLNA Home Projector
If you have a NAS (Network Attached Storage) device at home, store media files on it first. Most NAS systems include built-in DLNA server functionality. Simply enable this feature in the NAS management interface and configure shared folders. Then, use the DLNA-compatible media player on the XGIMI projector to search for the NAS's DLNA server and locate the desired files for playback.
Common DLNA Connection Issues and Solutions
1. Devices Cannot Discover Each Other
Ensure the XGIMI DLNA projector and your devices are connected to the same Wi-Fi network. Confirm the projector's DLNA function is enabled since some models may require manual activation in settings. Then you can try restarting the router and relevant devices.
2. Connection Successful but Playback Stutters
This may result from insufficient network bandwidth. You can try disconnecting other bandwidth-consuming devices, such as pausing downloads or closing online video streams. Alternatively, reduce the playback resolution, such as switching from 4K to 1080P.
3. Unplayable Files
Media file format support varies across devices. If encountering unplayable files on your DLNA video projector, use format conversion software to convert them to supported formats.
Conclusion
Mastering DLNA and your projector enables true “interconnectedness” among your home smart devices, delivering a more convenient and enriched multimedia experience. Whether for home entertainment or office scenarios, the DLNA connection plays a vital role. Try connecting your devices to your XGIMI projector via DLNA and enjoy the fun of wirelessly sharing media content!
FAQ: Should I Use AirPlay or DLNA to Connect My iPhone to a Projector?
For iPhone screen mirroring, AirPlay is recommended because it is built into iOS and supports full-screen, real-time mirroring. DLNA requires third-party apps on iOS and is mainly intended for streaming local media files, such as photos, videos, or music, especially when the projector does not support AirPlay.
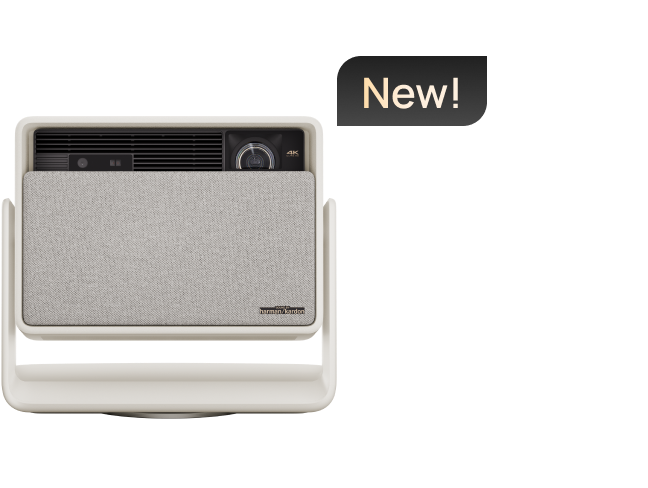
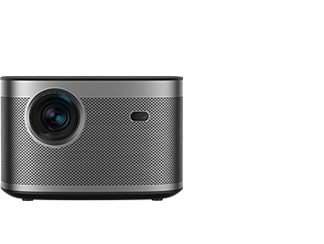
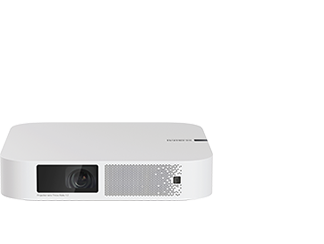
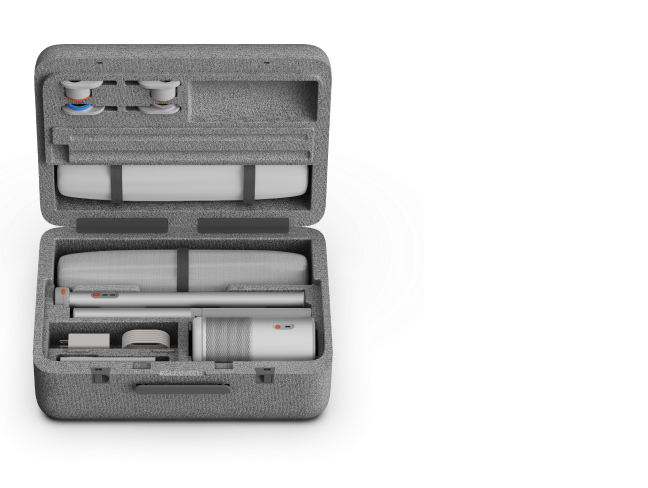
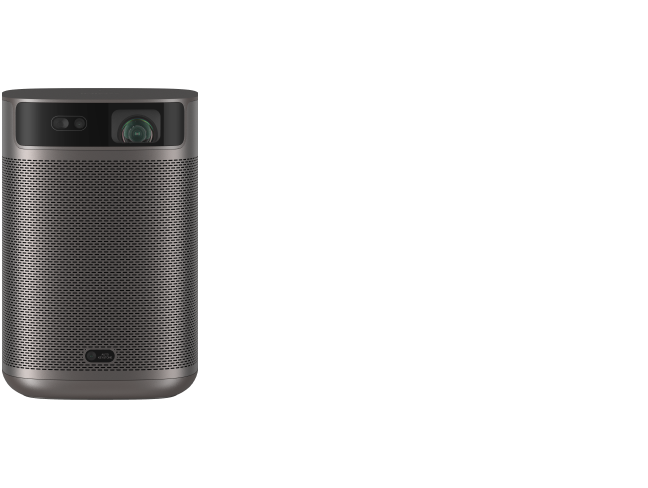
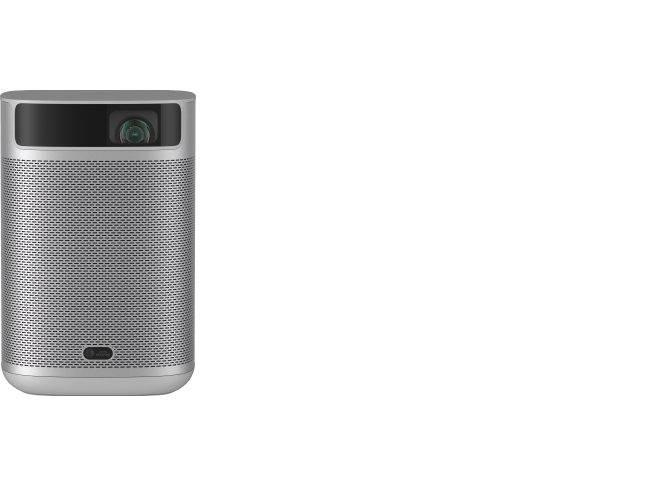
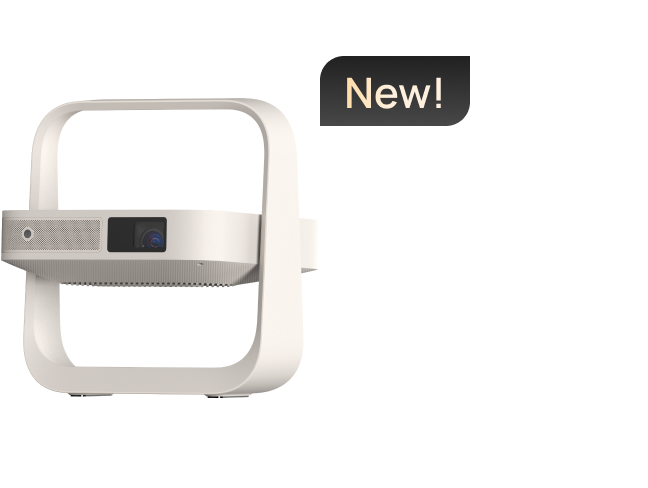
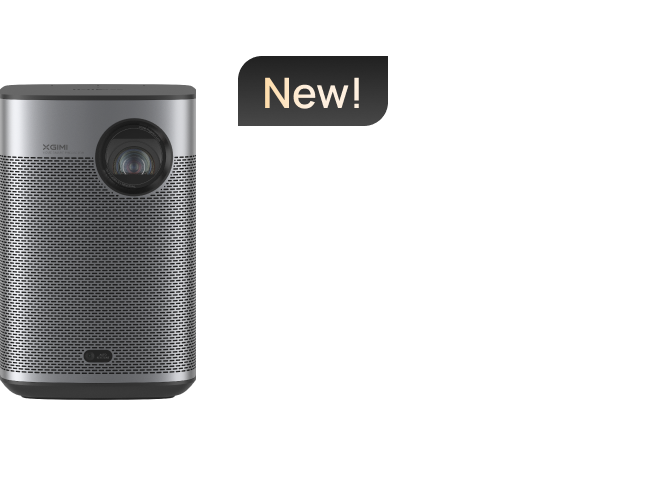
Projector Recommendations
Just Play, Your Way
Google TV Smart 1080p Projector On-the-Go

Mini Size,
Maximum Entertainment

Mini Remote Control


Enjoy $50 off Your Next Purchase
Be the first to know about any news and sales!
*By subscribing, you agree to receive XGIMI's marketing emails and XGIMI's Privacy Policy.